
Recipe of the Month: Gluten Free Mushroom Pie

The Holidays are Here!!!!
One of my favorite things to make during the holidays is pie, specifically mushroom pie. (But any kind of pie is ok by me really!)
As I have been experimenting with making Gluten Free recipes I found that I have perfected the Gluten Free Pie crust and wanted to share it with you all so you can make it as well. The recipe is a level 4 on the scale of easy to difficult to make and it is full of super healthy ingredients that taste good too!
On your mark, get set Bake!!!
Ingredients:
For the Filling-
8 oz baby portabella mushrooms, chopped
12 oz button mushrooms, chopped
2 carrots, chopped small
1/3 a daikon radish, diced
2 stalks of celery, diced
3 cloves of garlic, minced
2-3 tbsp. avocado oil
fresh thyme
1 onion, chopped small
For the Sauce-
1/3 cup butter (or coconut oil for dairy free)
1/3 cup gluten free all purpose flour
1 cup of juices from mushroom sauté (or veggie broth)
1 cup of almond milk
thyme
1 tbsp. Liquid Aminos
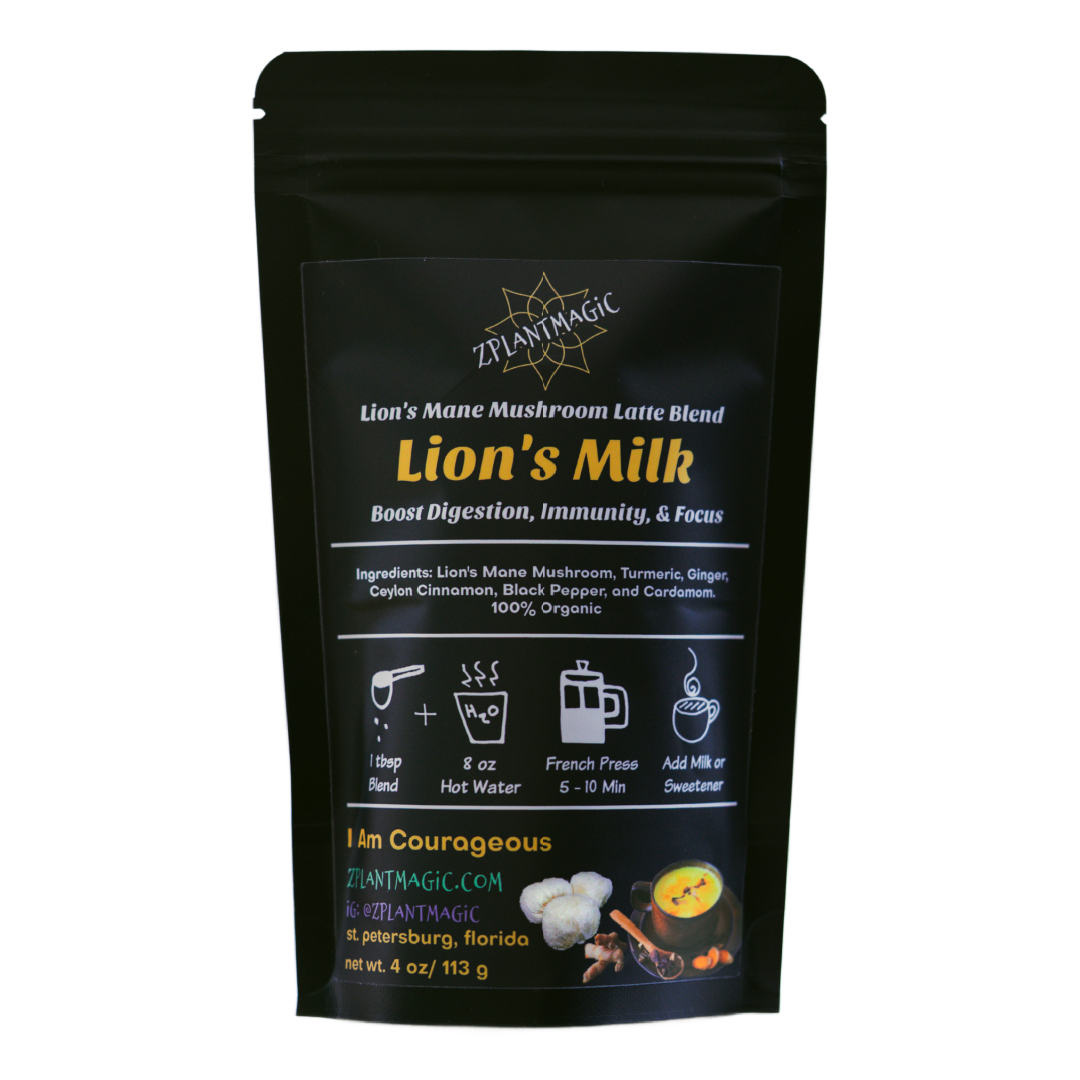
2 tbsp. of Lions Milk Shroomed
Salt and Pepper to taste
For the Crust-
3 cups of almond flour (finely ground)
3 cups of tapioca Starch
1 tsp baking powder
1 tsp sea salt
2 large eggs (or make two chia seed eggs with 2 tbsp. chia seeds ground up and mixed in 6 tbsp. water)
1/2 cup butter or coconut oil for dairy free
2 tsp apple cider vinegar with the mother (or digestive bitters)
cold mineral water as needed
Method:
For the Filling-
Start by making your filling. Heat up a pan on medium high. Add the avocado oil once pan is hot. Add minced garlic cloves once oil is hot. After garlic gives off smell and is golden, add onion then cook until translucent. Add mushrooms. Stir every so often. Cook until tender. Add carrots and daikon. Sauté a few more minutes then add celery. Add about a tbsp. of fresh thyme or a tsp. of dried thyme. Once everything looks nicely sautéed, about 10-15 minutes, drain juices and turn of heat.
In sauce pan, heat the butter or coconut oil. Once melted, slowly add a little flour at a time whisking quickly so no lumps form. Once blended, add all the remaining ingredients for the sauce except the Lion's Milk Shroomed Powder stirring every so often. This should make a tasty gravy! Once your gravy is formed, turn off heat. (It will thicken more during the bake.)
Now put your mushroom filling in a big bowl and cover with the gravy. Sprinkle the Lion's Milk Shroomed powder on top and mix everything evenly together. Set the filling bowl aside.
For the Crust-
Preheat your oven to 350 degrees F.
In a food processor, pulse almond flour, tapioca starch, baking powder and salt until mixed. Add the egg (or chia seed egg), butter (or coconut oil) and vinegar and pulse until combined. Add cold mineral water 1 tsp. at a time until a dough forms. Dough will hold together when pressed with fingers once it is combined.
Remove dough from food processor and put on flour dusted counter top. Knead until smooth. Use additional tapioca starch if it starts sticking to counter.
Divide dough into 2 equal parts. Wrap one part tightly in plastic wrap and keep in fridge. Clean your counter top and place a sheet of parchment paper on it. Dust with tapioca starch lightly. Place your 1st half of dough on the parchment paper and make into a flat circle with hands. Roll out until it an even circle with the right thickness (about 11 inches diameter).
Get your cake pan that has removeable sides and line the bottom with a circle of parchment paper. Grease the sides. Now here is the tricky part, putting the crust inside your cake pan. If you have a silicon mat/cutting board, it is much easier. Slide that silicon mat under your parchment paper that has the rolled out dough. Quickly and carefully flip it over and into your cake pan. Fix any broken bits of crust so that it evenly lines the cake pan and comes up the sides.
Fill the crust with the mushroom filling and set aside.
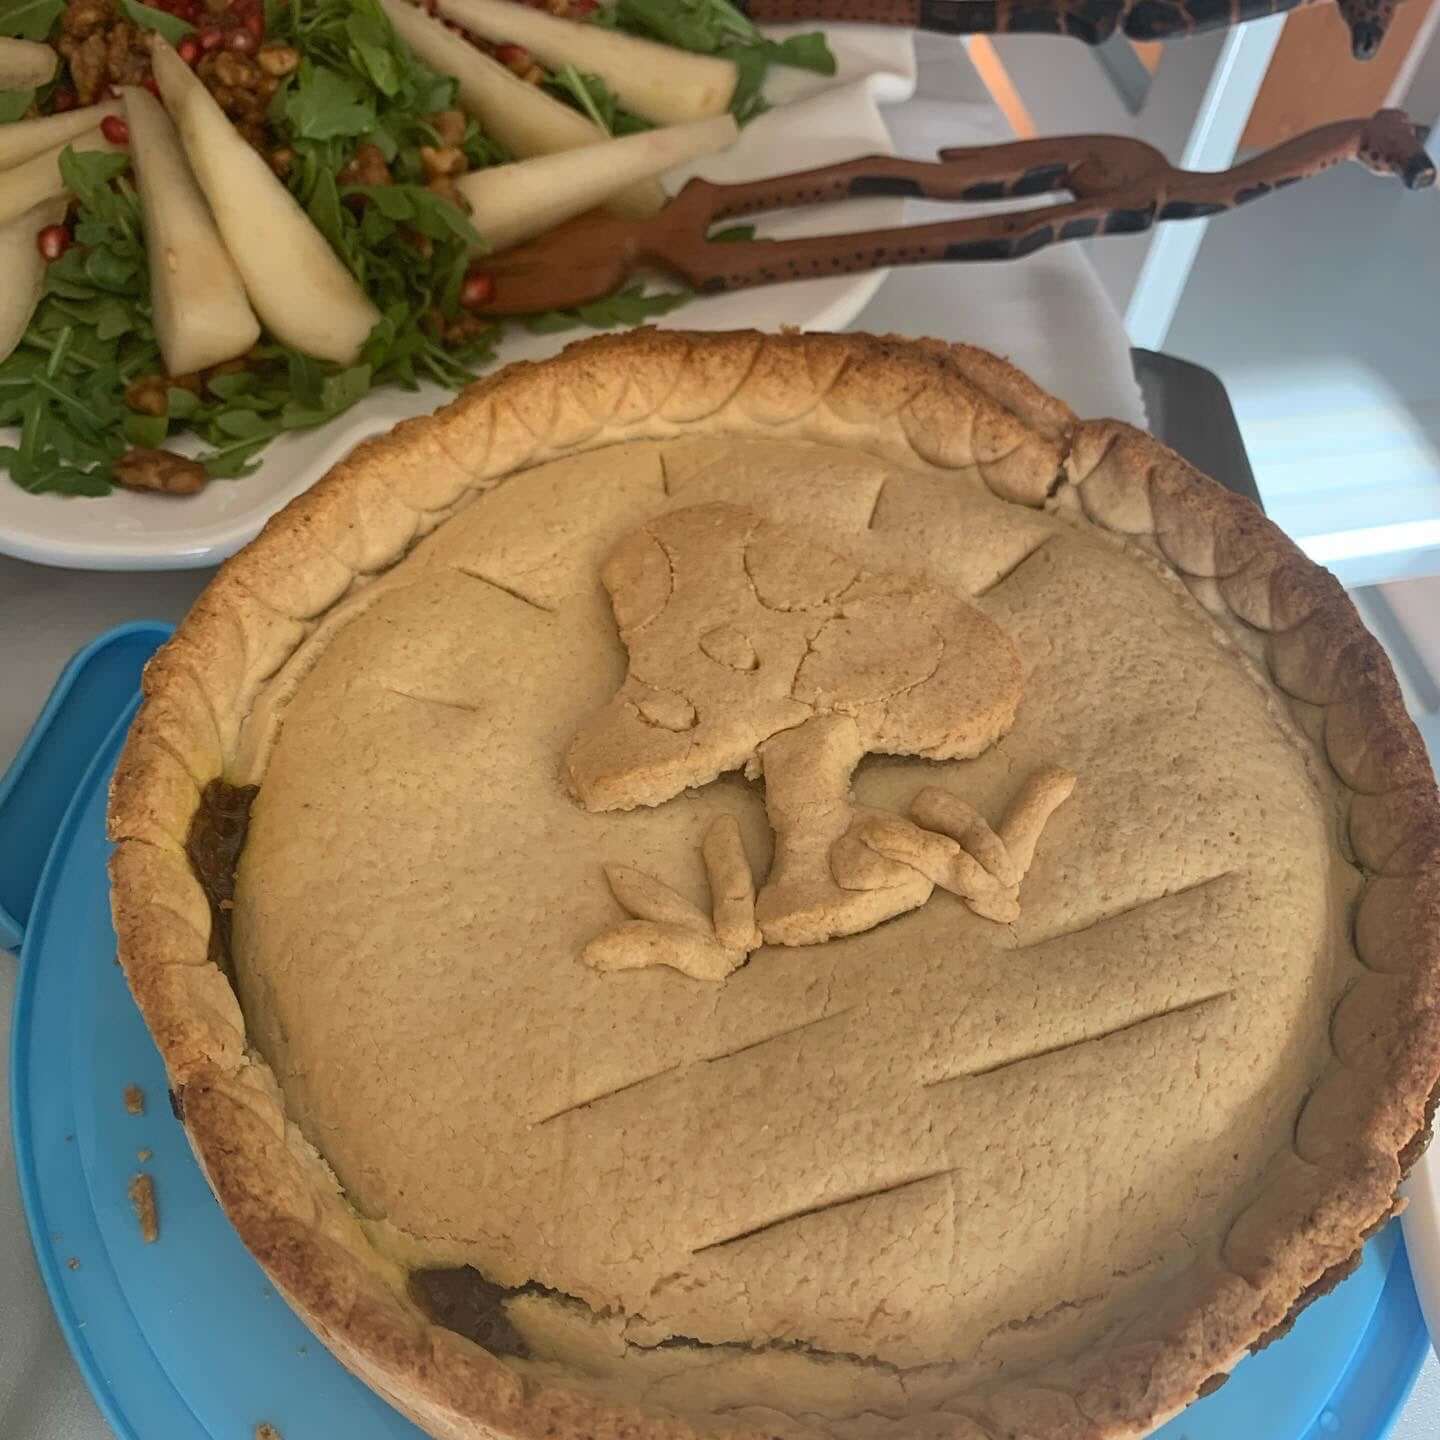
Take the 2nd half of dough out of the fridge and roll it out into a flat circle. Use your silicon mat to flip it on top of the filling. Press the edges of the crust together so it hugs the inside of the cake pan making a "crown" for the pie. You should have leftover crust to shape into a design if you like and top the pie with.
Use a spoon to lightly etch the sides of the crust to make a nice crown for the pie. Cut slits for the steam and get that sucker in the oven!
Bake for about 60 minutes. Keep an eye on it towards the end and put a sheet of foil over the top if the crust gets to brown too soon. You want a nice golden color with no soggy bottoms!
Enjoy!
